


Making the scene by Julien Noel
Making the scene
"Making the scene " by Julien Noel
Introduction
Hi everybody
This tutorial is aimed to 3dsmax users but advices gived can be apllied in most 3d packages. First I will show some modeling details and then I will explain the texturing process, and to finish I will say few words about lightning. This tutorial requires some basic knowledge about material editor and UVW modifier.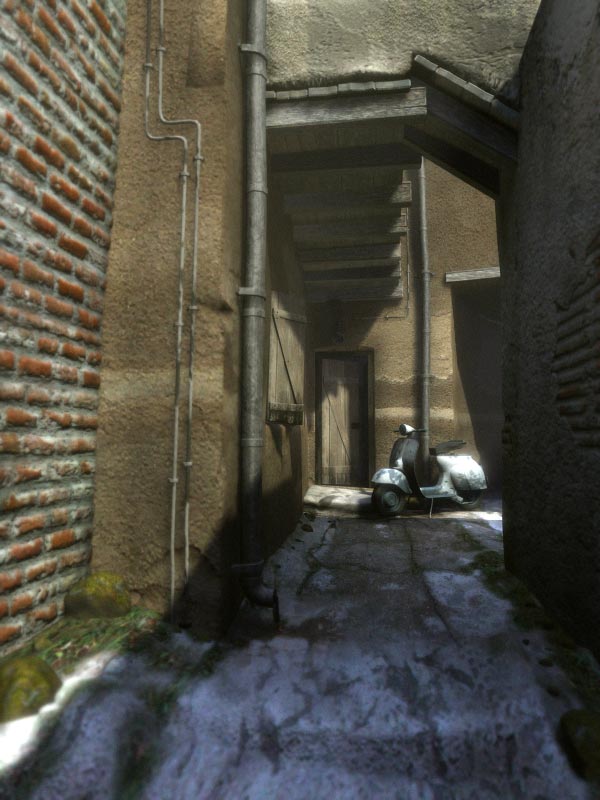
Modeling
Generally in my scenes I work especially on the mood, my goal wasn't to get a photorealistic effect but something a bit romantic and glamourous.
Here is my main reference image.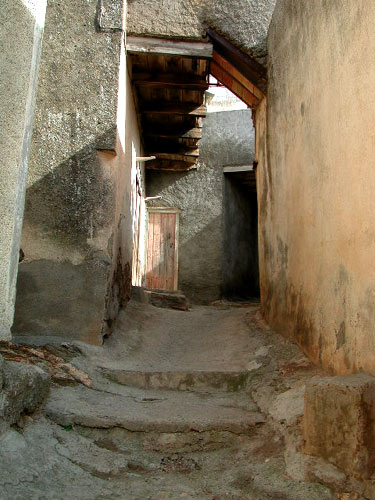
Modeling in this scene is quite simple excpet the vespa. All objects are simple primitives modified.
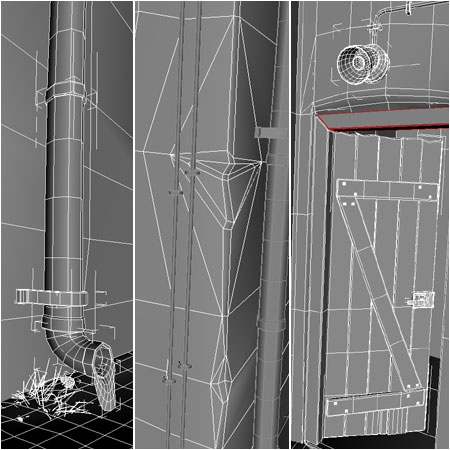
The walls are boxes and planes that I extruded and edited. Details likes cracks are obtained by cutting edges.
The ground is a plaine extruded using Shift key while draggin edges.
The cables are renderable splines, rocks are geosphere with noise modifier and I found the vespa on the net and I retexured it.
Texturing
For most materials I use Oren-Nayar-Blinn shader. It has a diffuse roughness and diffuse level. It allows more control about the diffuse than Blinn or Phong shader. It's very usefull to add dirtiness, hide the tiling of maps or to darken some parts of the maps( raytrace and multilayer shaders have those channels too). As the bump maps, diffuse level and rougness maps work better in grayscale.
All textures used in this tutorial are from: www.environment-textures.com
Map channels are very important, I use them to control different textures and mask. I use several UVW modifiers with different map channels (1, 2, 3 and so on), I rename each modifier with the name corresponding to the specific map./ For example : UVW mask, UVW brick, UVW concrete and so on.

To easily tune the color, contrast and levels of my maps I use the Freeware Color Correct plugin. You can find it on www.maxplugins.de but be carefull, this plugin doesn't work with mental ray...
I often use mix maps and blend materials with masks, it's a good way to get complex mapping with a few basic maps. I prefere blending my textures in max rather than in photoshop because it's easier to manage masks and move them.
I will show the making of two materials now: one complex and one simple, it represents the two kind of material I used in this scene.
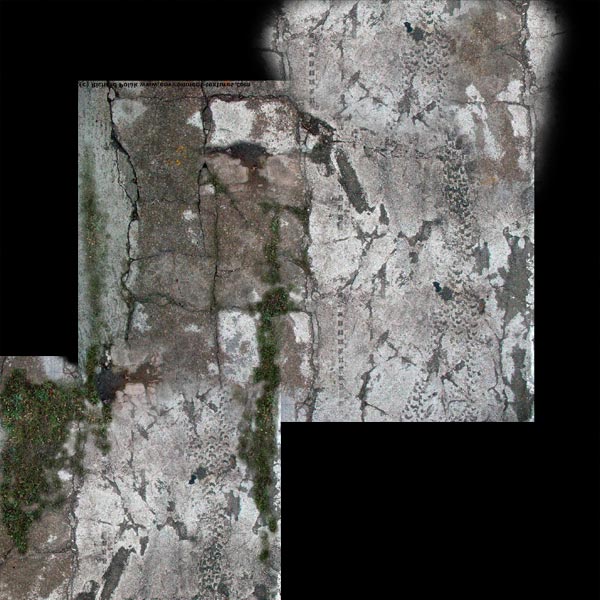
The ground texture
Thise is the textures I used to create the ground map.
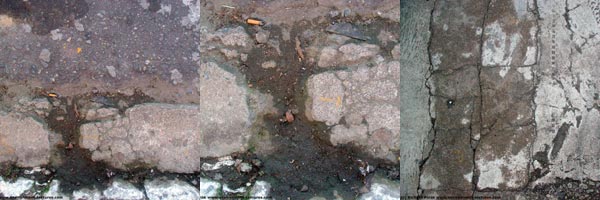
I composited several maps in photosop using a render of the uv as template. I added moss with a mask in photoshop.
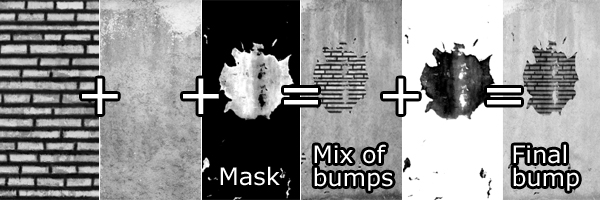
The right wall material
For the diffuse I simply mix the two maps using a mask

The bump map is a bit more complex, I mix both bump maps but the result does not perfectly match because there is two levels, the brick level and the concrete level. To show this effect I mix the mix of brick and concrete maps with a negative image of my mask.
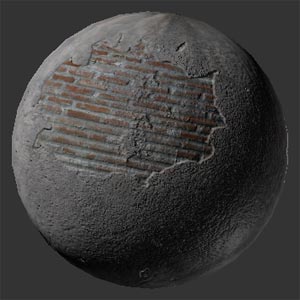
This is the final material
Lightning
I would like to say a thing about lighting too: there's no GI, the skylight is created by about 15 spotlights with depht maps shadows, and there's about 15 omnis with decay and custom colors to simulate inderect ligthning.
(c) Julien Noel, julienno@hotmail.com
Click for viewing tutorial on free3dtutorials .