


Recolour a texture using ColorRamp and Bias or Gain by John Rickard
Recolout texture using ColorRamp and Bias or Gain
"Recolour a texture using ColorRamp and Bias or Gain" by John Rickard
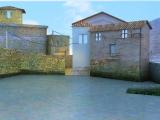
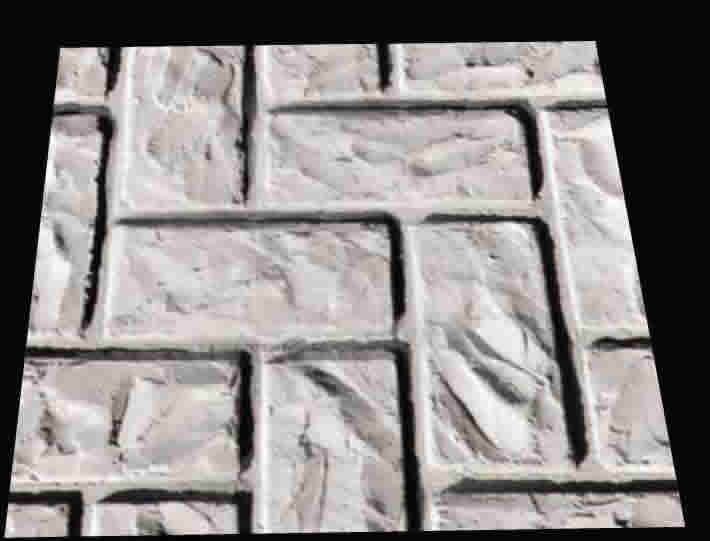
1: The original Texture
In this tutorial, we are going to take an existing texture and recolour it using two Material Room nodes. The texture we are using here is the stone3b tiling texture from www.environment-textures.com, a nice chunky light gray stone. Here we see it applied to the poser hi-res square primitive.
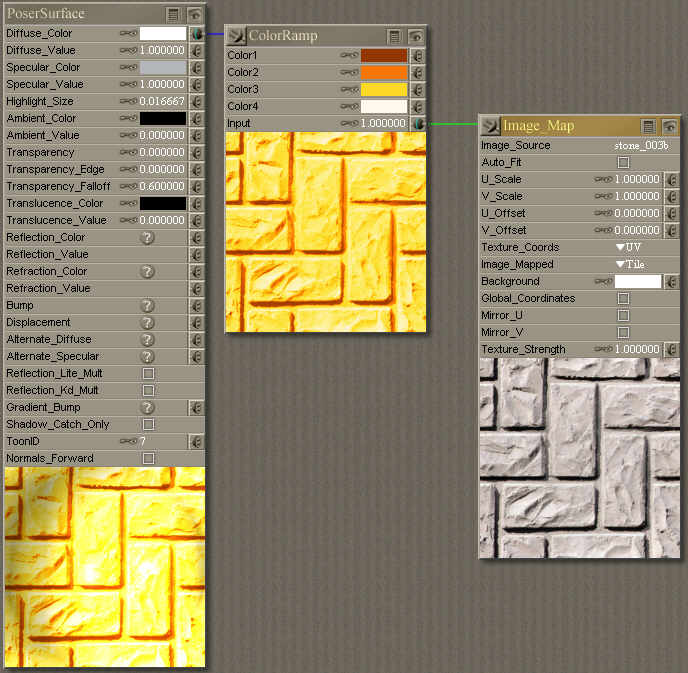
2: Set up the Colour Ramp
This shot shows our starting point. The output of the Image_Map node is plugged into the Input attribute of the ColorRamp node. The output of the ColorRamp is then plugged into the Diffuse_Color input. With the default colours that produces a bright yellow result, not exactly what we are looking for!
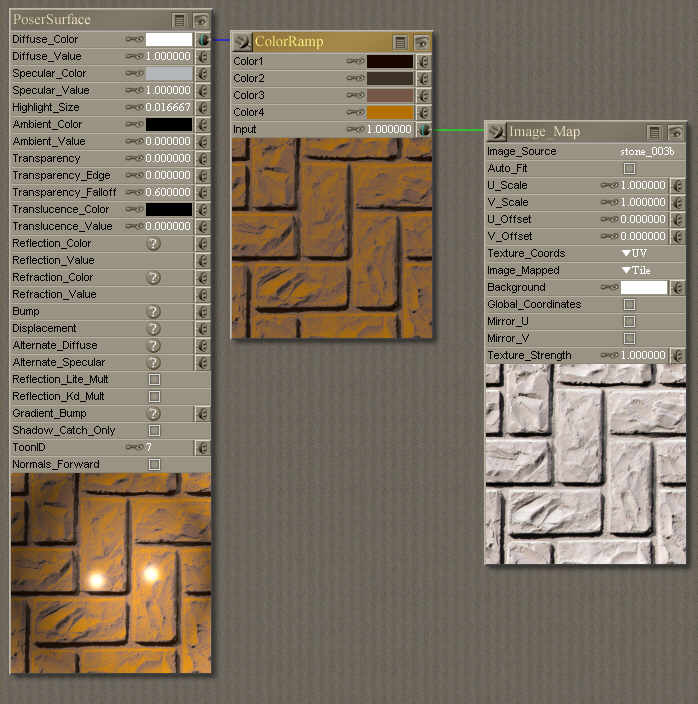
3: Alter your Colours
The colour ramp works by using the Input attribute to control which of the four colour attributes is used at any point on the texture. Black maps to Color1, White to Color4, with shades of gray producing a mix of the two nearest colours (dark shades mix Color1 and Color2, light shades 3 and 4, middle shades 2 and 3.)
Here I have picked a series of browns, from almost-black at the top down to nearly orange at the base to give a warm brown result.
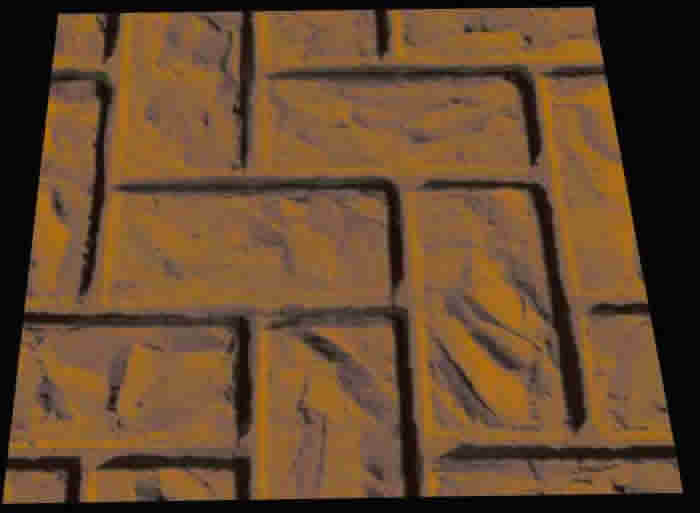
4: A test render
This shot shows us the results of the color ramp. This technique greatly increases the flexibility of our textures, but we can do more. In this case, I'd like to see more detail on the surface of the stones.
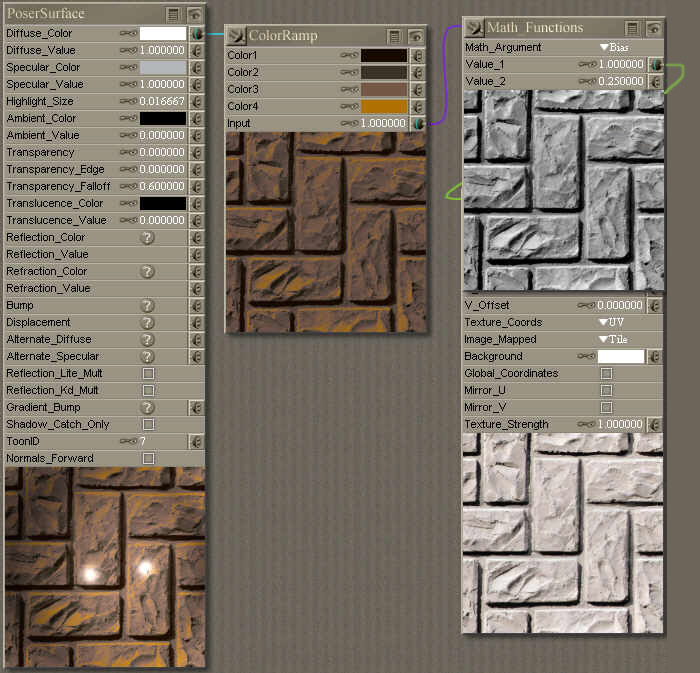
5: Modify the Input
If we place a maths node between our texture and our ColorRamp Input we gain even more control over the final result. The two most useful nodes here are the Bias (Brightness) and Gain (Contrast) nodes. Here I am using a Bias node to darken the texture.
To do this, create your Maths_Function as shown. Set the argument to Bias, Value_1 to 1 and Value_2 to .025. Our texture output is plugged into Value_1. Value_2 controls the Bias - 0.5 does nothing, low numbers darken the picture and high numbers brighten it.
The Bias node still leaves very bright colours bright, so the result of decreasing brightness is often to increase the impact of highlights, while increasing brightness can make the dark patches look darker in comparison.
6: The Result
Here is our final result. As you can see, the dark areas are still just as dark. However, the overall tone is darker, with bright highlights now standing out. There is now more detail showing on the surface of the stones.

(c) John Rickard, Castle Poser
1: The original Texture
In this tutorial, we are going to take an existing texture and recolour it using two Material Room nodes. The texture we are using here is the stone3b tiling texture from www.environment-textures.com, a nice chunky light gray stone. Here we see it applied to the poser hi-res square primitive.
2: Set up the Colour Ramp
This shot shows our starting point. The output of the Image_Map node is plugged into the Input attribute of the ColorRamp node. The output of the ColorRamp is then plugged into the Diffuse_Color input. With the default colours that produces a bright yellow result, not exactly what we are looking for!
3: Alter your Colours
The colour ramp works by using the Input attribute to control which of the four colour attributes is used at any point on the texture. Black maps to Color1, White to Color4, with shades of gray producing a mix of the two nearest colours (dark shades mix Color1 and Color2, light shades 3 and 4, middle shades 2 and 3.)
Here I have picked a series of browns, from almost-black at the top down to nearly orange at the base to give a warm brown result.
4: A test render
This shot shows us the results of the color ramp. This technique greatly increases the flexibility of our textures, but we can do more. In this case, I'd like to see more detail on the surface of the stones.
5: Modify the Input
If we place a maths node between our texture and our ColorRamp Input we gain even more control over the final result. The two most useful nodes here are the Bias (Brightness) and Gain (Contrast) nodes. Here I am using a Bias node to darken the texture.
To do this, create your Maths_Function as shown. Set the argument to Bias, Value_1 to 1 and Value_2 to .025. Our texture output is plugged into Value_1. Value_2 controls the Bias - 0.5 does nothing, low numbers darken the picture and high numbers brighten it.
The Bias node still leaves very bright colours bright, so the result of decreasing brightness is often to increase the impact of highlights, while increasing brightness can make the dark patches look darker in comparison.
6: The Result
Here is our final result. As you can see, the dark areas are still just as dark. However, the overall tone is darker, with bright highlights now standing out. There is now more detail showing on the surface of the stones.
(c) John Rickard, Castle Poser